Installing Mini-Blinds
Step by Step, Hanging Mini-Blinds
Hanging mini-blinds can be a straightforward task, but achieving a professional and polished look requires careful planning and execution. Here are some of the best tips to ensure you successfully install mini-blinds in your home.
1. Choose the Right Size
Before you begin, measure your window to ensure you select the right size of mini-blinds. Mini-blinds generally come in standard widths and heights, so it’s essential to measure both the width and height of your window frame. Use a metal measuring tape for accuracy, and round down to the nearest 1/8 inch when ordering. If you’re purchasing inside-mounted blinds, measure the width inside the window frame to ensure a snug fit; for outside-mounted blinds, measure the width of the window trim plus any additional width you want for aesthetic purposes.
2. Gather the Right Tools
Preparation is key for a smooth installation process. Gather your tools before you start hanging your mini-blinds. Common tools include a drill or screwdriver, a level, a measuring tape, and a pencil for marking. If your blinds come with mounting brackets particularly designed for your blinds, ensure you have those as well. If you're installing on a concrete wall, you may also need a masonry bit and anchors.
3. Read the Instructions
Each brand and style of mini-blinds may come with specific installation instructions. Before beginning, take the time to read through the manufacturer’s directions thoroughly. Familiarizing yourself with the product will help you understand any unique requirements for installation, including the need for specific mounting brackets or hardware.
4. Decide on Mounting Position
You can choose between two mounting options: inside mount or outside mount. An inside mount, where the blinds are fitted within the window frame, provides a clean and streamlined look. An outside mount, where the blinds are fixed to the wall above the window, can create the illusion of larger windows and provide better light control. Consider the style of your room and which mounting option complements the design better.
5. Mark Your Drill Points
Once you’ve decided where you want to install the mini-blinds, use a level to draw a light pencil line at the desired height. Mark where the brackets will be placed. Generally, brackets should be spaced evenly on each side of the window. Use a level to ensure your marks are straight so that your blinds hang evenly. If you are installing an outside mount, make sure to mark the width to match the desired overlap for better light blockage.
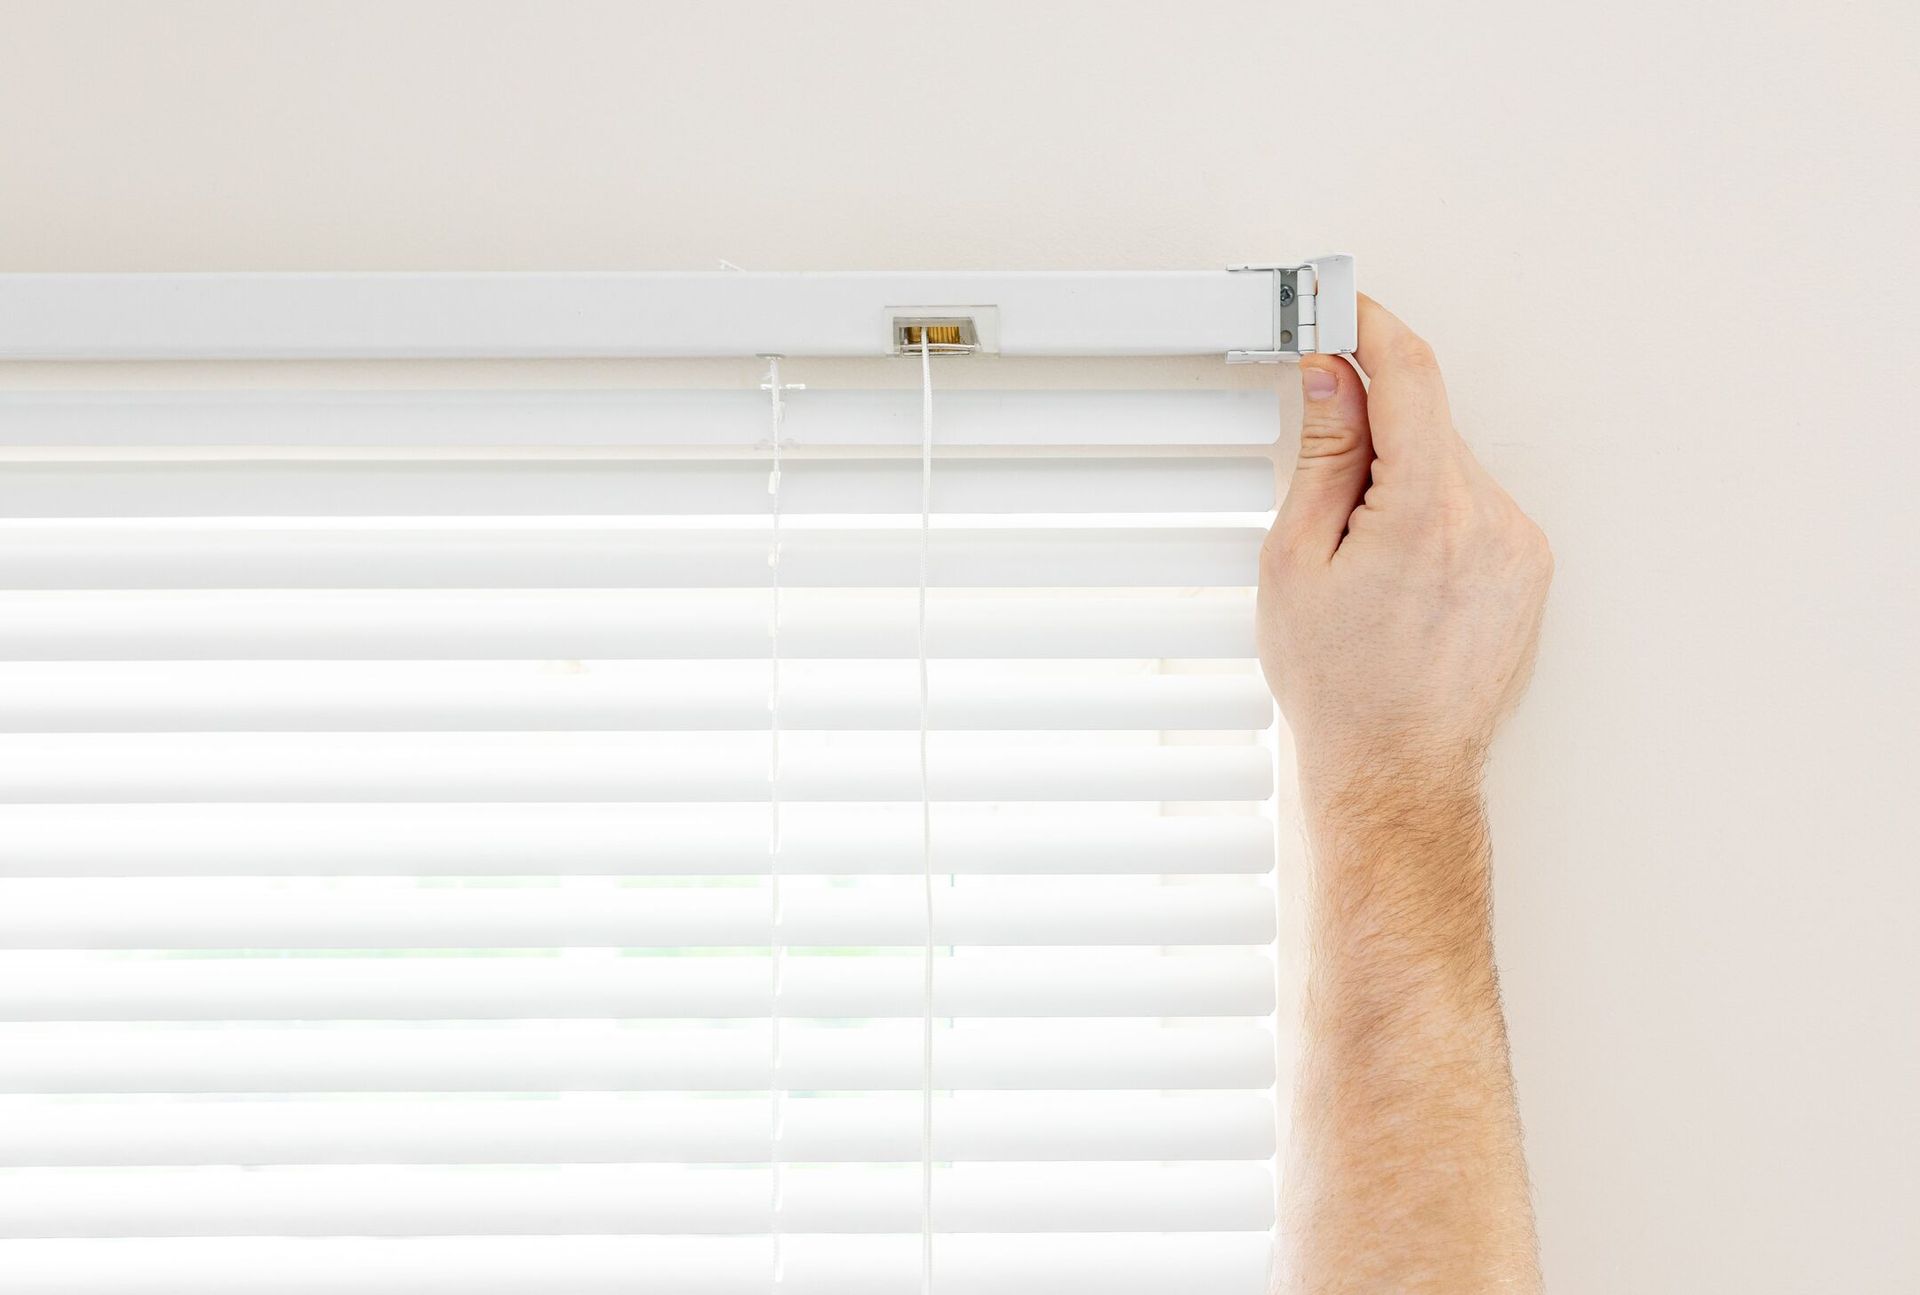
6. Install the Brackets
Using a drill or screwdriver, secure the brackets onto your marked points. If you are drilling into drywall, be sure to use wall anchors if the blinds are heavy. This will provide more stability and support for the blinds. Tighten the screws well to ensure the brackets are securely fastened. Repeat this process on both sides of the window.
7. Hang the Mini-Blinds
With the brackets securely in place, it’s time to hang the mini-blinds. Most mini-blinds come with a headrail that fits into the mounting brackets. Follow the manufacturer’s instructions for attaching the headrail to the brackets. Ensure that the blinds are hung level, adjusting as necessary before finalizing the installation.
8. Final Adjustments
Once the blinds are in place, pull them down and test the functionality. Ensure they open and close smoothly, and check for any obstructions or areas where they might get stuck. If everything operates correctly, you may want to trim any excess string or cord according to the manufacturer’s recommendations.
9. Cleaning and Maintenance
Finally, consider how to maintain the appearance and functionality of your mini-blinds. Regularly dust and clean them to prevent dirt buildup. Depending on the material, you may be able to wipe them down with a damp cloth.
In conclusion, hanging mini-blinds can enhance the beauty and functionality of your windows, but taking the time to measure accurately, choose the right tools, read instructions, and install them properly is crucial for achieving great results. With these tips in hand, you can tackle this home improvement project confidently and enjoy the benefits of your newly installed mini-blinds for years to come.
You might also like